e*Board Bathroom Insulation
페이지 정보
작성자 관리자 작성일07-08-17 16:57 조회7,440회 댓글0건본문
1. Waterproofing
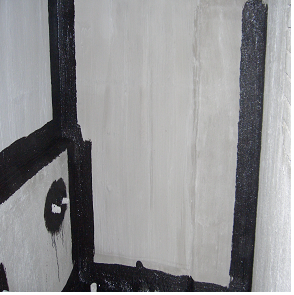
- Seal tightly with waterproofer of cement and asphalt to whole and especially corner of the wall.
2. Preparing e*Board Attach
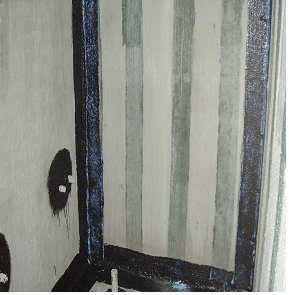
- Base coat primer adhesive to each concrete or block wall and backside of e*Board.
3. Adhering e*Board
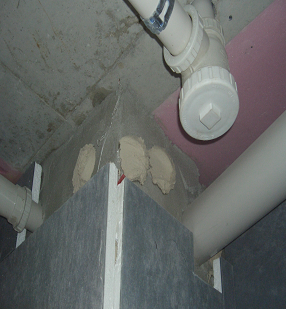
- With handful-size plaster knead, adhere e*Board to concrete slab or block wall of bathroom.
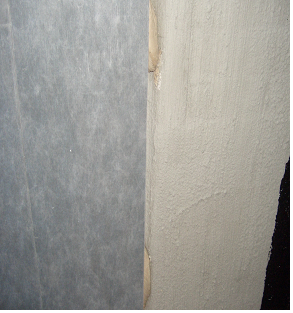
- Press the board to stick to the wall closely.
4. Make Even the Surface
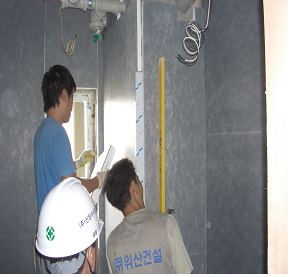
- Make even the height of e*Board surface using vertical ruler
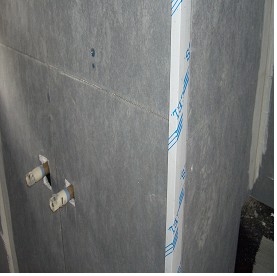
- Cover the edge of corner with corner bead.
5. Adhere Tile On The e*Board
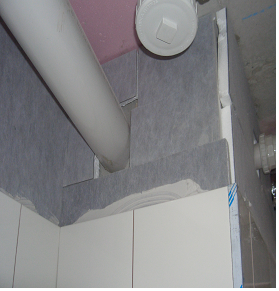
- Adhere tile on the e*Board with tile adhesives and adjust the height of wall surface with controlling the amount of adhesives.
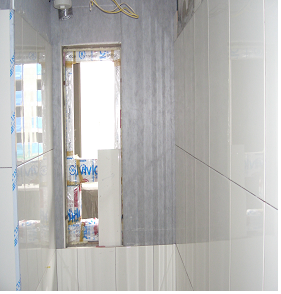
- Completion of bathroom insulation with e*Board.
댓글목록
등록된 댓글이 없습니다.


